


If you love a foamy, creamy soap then this one is for you! The sugar content of the honey really boosts the lather and the oats produce a lovely creaminess along with a soft exfoliating action.
Our honey and oat soap recipe is gentle and doesn’t dry out your skin. It's packed full of moisturising natural oils and butters to give your skin a hydration boost. We’ve added some essential oils to our honey and oat soap recipe but feel free to leave them out for a more pure aroma.
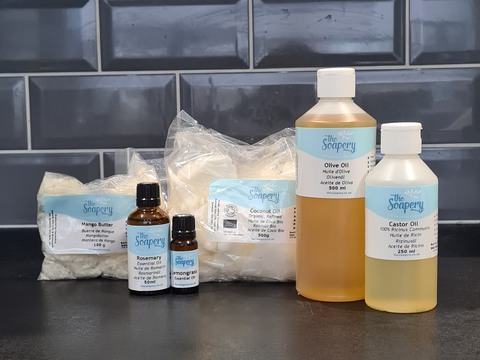
Ingredients:
This honey and oat soap recipe makes 1200g of soap
Equipment:
- Gloves
- Goggles
- Weighing scales
- Hand blender
- Something to use as a mould - a silicone mould or a cardboard box lined with greaseproof paper
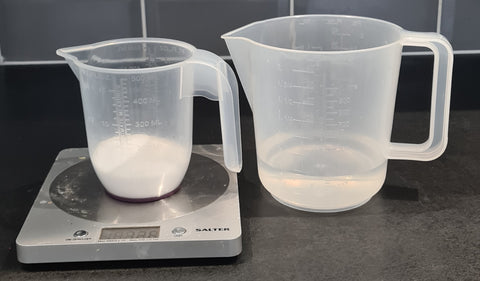
- 2 x 1 litre plastic jugs
- 1 x 3 litre plastic jug
- Silicone spatula
- Containers for weighing your honey and oats
- Digital or jam thermometer
Safety Note: When working with sodium hydroxide you must wear gloves and goggles at all times. It is a caustic product and will burn. In the event of getting it on your skin, rinse well with plenty of plain water. If it is splashed in the eyes, wash with water and seek urgent medical attention. Keep away from pets and children at all times.
Method:
1. Measure and mix your water and sodium hydroxide
- Weigh your cold water into one of your jugs and place to one side
- Get your gloves and goggles on
- Weigh your sodium hydroxide
- Pour the sodium hydroxide into your water jug, not the other way around. Take care to do this in a ventilated area, it will give off fumes for a few seconds once you begin to stir. Stir for around 10 to 15 seconds until completely dissolved with your spatula. Place safely to one side. It will be too hot to use at the moment.
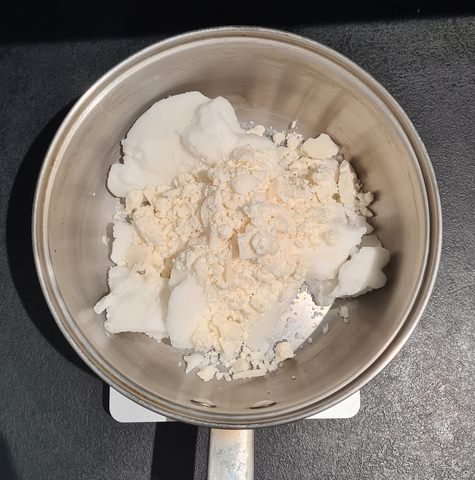
2. Weigh and heat your oils
- Weigh your coconut oil, mango butter, olive oil and castor oil into your 3 litre jug.
- Measure your honey into a separate container
- Melt your oils in the microwave (or on the stove top in a saucepan)
- Add your honey to your warm, melted oils and stir in. If your honey doesn't dissolve give it a few blasts with the hand blender.
- Weigh out your essential oils
- Weigh out your oats
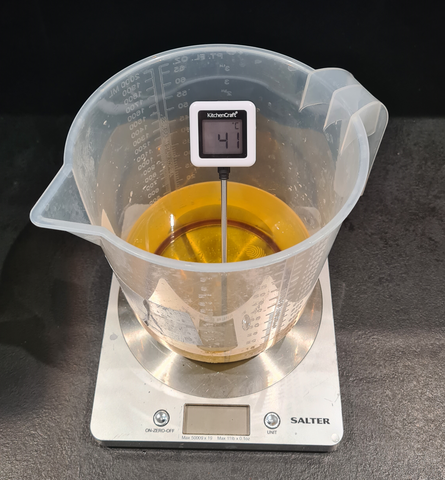
3. Check the temperature of your mixtures
- Test the temperature of your sodium hydroxide solution with your thermometer. You want it to cool down to around 38C
- Test the temperature of your oils. They need to be around 38C. If they need to be warmed up then pop them back in the microwave but take care not to overheat and burn your honey.
- Add your essential oils to your oils and stir.
- When you are happy that the temperatures of both your sodium hydroxide solution and oils are around 38C pour your essential oils and then your sodium hydroxide solution into your oils. (Note - do not reheat your sodium hydroxide solution if it is too cool, heat your oils a little more to compensate instead)
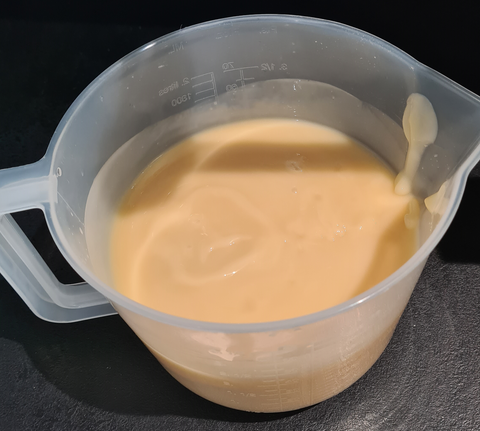
4. Blend until trace
- Stir gently with your hand blender and then blend until it reaches a light to medium trace. This means you have a mixture that has thickened up a little and when you drizzle a little of it across the top of the jug of mixture it sits on top for a moment. The picture above is a heavy trace.
- Add your porridge oats and give a quick blitz with the hand blender.
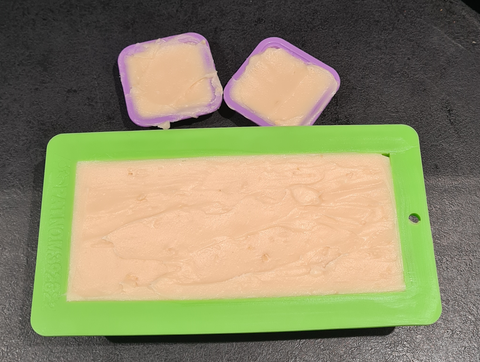
5. Pour into your moulds
- Pro tip - make sure your mould is big enough before you start! You can see from this photo that Andy selected a mould slightly too small, and had to quickly run for some more moulds to fit the rest of the soap!
- We left our soap to solidify un-insulated in the mould at 18C. After 4 hours we noticed that it was only partially reaching gel phase so we wrapped it in towels to try and help the soap fully gel. Read more about what gel phase is in soap.
- We would recommend trying to leave the soap un-insulated for an hour and then wrapping it in towels, at a room temperature of 18C.
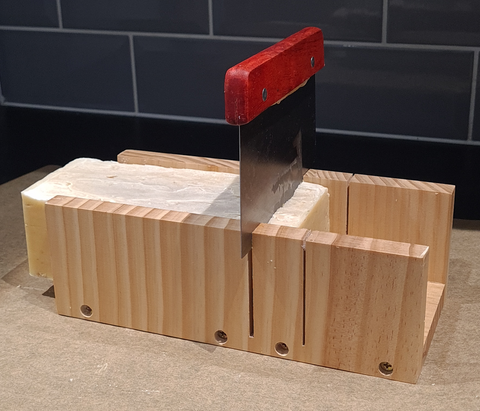
6. Cut and cure your soap
- Leave for 2 days before unmoulding and cutting into bars with a non serrated knife (if not using individual bar moulds).
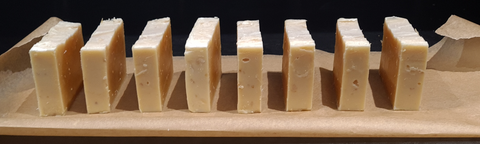
- Place somewhere with a good airflow between bars. You can put them back in the cardboard box just try and ensure they are not touching.
- Curing - your soap will be ready to use within 4 to 6 weeks.
How did your soap look? Let us know over on our Facebook or Instagram pages. Or comment below.
Looking for more cold process soap recipes? We've got you covered


