If you dream of having hydrated and glowing skin, a hyaluronic acid serum might be the perfect solution for you!
Our DIY hyaluronic acid serum recipe is gentle and suitable for all skin types.
Keep reading to find out how to make your own hyaluronic acid serum!
What is hyaluronic acid?
You might have heard of hyaluronic acid as it is popular in many skincare products. Hyaluronic acid can be found in cosmetics like serums, moisturisers, anti-aging creams, hair conditioners and eye creams.
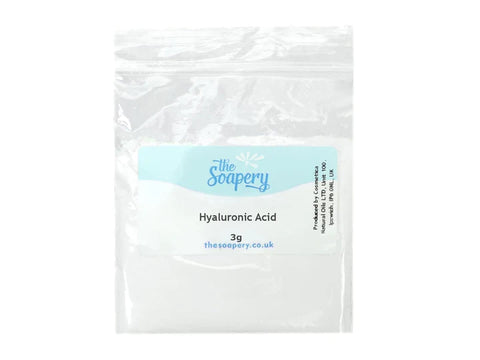
Our hyaluronic acid comes in the form of a white powder and forms a gel like consistency when added to water. The gel that is formed is very light and does not feel oily on the skin.
Hyaluronic acid powder is used in small concentrations as it is very effective. Too much hyaluronic acid may be irritating for the skin. To find our more about our hyaluronic acid, click here.
Why make your own hyaluronic acid serum?
Commercial serums are often expensive and filled with a long list of ingredients that aren't always good for the skin. Many popular hyaluronic acid serums contain parfum/ fragrance that can be irritating for dry skin or sensitive skin.
Hyaluronic acid powder is used in cosmetics because of its ability to draw moisture to the skin and prevent moisture loss, resulting in nourished and hydrated skin.
It also improves skin elasticity which can benefit the appearance of the skin, helping it appear plumper and smoother. Hyaluronic acid is often used in anti ageing creams, as it it said to help reduce the appearance of fine lines and wrinkles.
Let's learn how to make hyaluronic acid serum...
Ingredients:
-
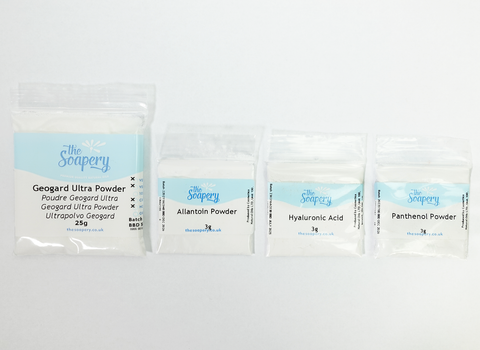
Water 93.5g
-
Allantoin 0.5g
-
Panthenol 2g
-
Hyaluronic acid 0.5g
-
Geogard ultra 1.5g
-
10/90 lye solution 2g
Method:
1. Heated water phase
-
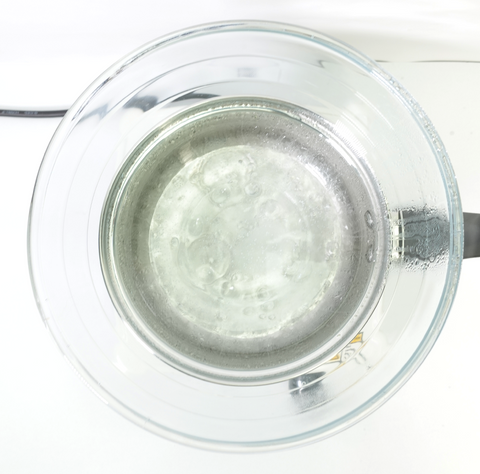
Measure the water and place into a heatproof bowl.
-
Heat the water over a pan of boiling water or in a double boiler.
-
Weigh the panthenol and geogard ultra.
-
Once the water has reached a temperature over 50C, add the powders.
2. Cool down phase
-
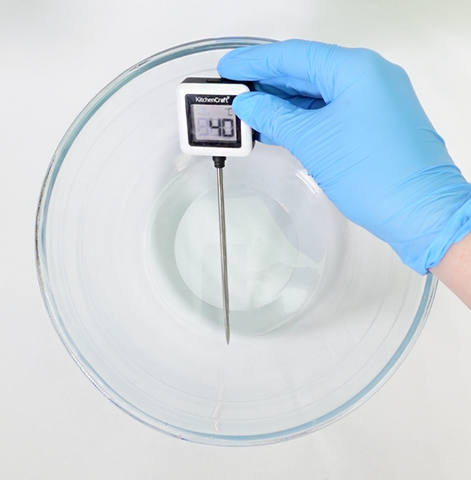
Remove the solution from the heat and leave to cool.
-
Once the solution is below 50C, add the allantoin powder.
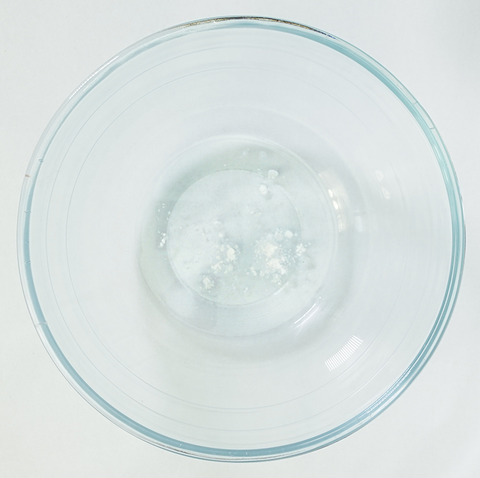
3. Add the hyaluronic acid
-
Measure the hyaluronic acid powder.
-
Add the hyaluronic acid to the mixture and mix well.
-
Leave to sit for a few hours or overnight to allow it to rehydrate.
4. Test the pH of the mixture
-
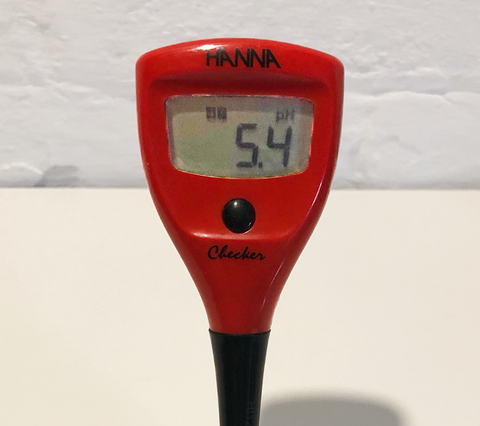
Once the mixture is ready, test the pH.
-
Take 2g of the mixture and mix it in 18g of water until dissolved.
-
The pH of the hyaluronic acid serum should be in the range 4.5 - 5.5
5. If necessary, adjust the pH
-
If the pH of your serum is too low, make a sodium hydroxide solution.
-
Put on your gloves, mask and safety goggles. For more information about safety when using sodium hydroxide, click here.
-
Weigh 10g of sodium hydroxide and 90g of water.
-
Add the sodium hydroxide to the water and stir until dissolved.
-
Add 0.5g of the lye solution into the diluted serum sample.
-
Test the pH again, if the pH is still under 4.5, repeat the last steps until the pH is 4.5-5.5.
-
Once the correct pH has been reached, record the amount of sodium hydroxide solution needed and add this to the remaining serum.
-
If the pH of the serum was over 5.5, you can follow this process but use 10g citric acid diluted in 90g water.
6. Pour into a bottle
-
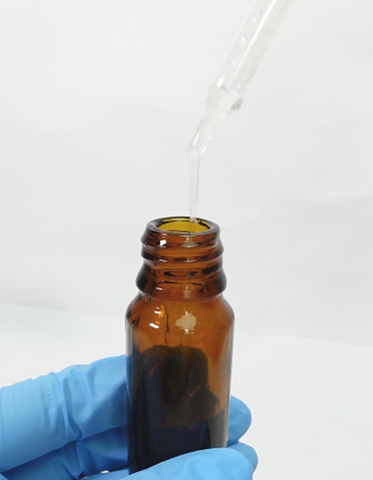
Pour the serum into a bottle with a dropper.
-
Now your diy hyaluronic acid serum is ready to use!
How to use a hyaluronic acid serum?
It is recommended that hyaluronic acid serum is applied to slightly damp skin so the moisture is locked into the skin. Hyaluronic acid is a naturally occurring substance in the body and is generally safe to use on a daily basis.
Continue reading
Now that you've learnt how to make hyaluronic acid serum, why not add some more to your skincare routine?
-
Want to make your own cleanser? Try our natural facial cleanser recipe!
-
Learn how to make your own natural face mask with our aloe vera face mask recipe!
-
Looking for a vegan friendly lip balm? Take a look at our easy vegan lip balm recipe!
Did you try our hyaluronic acid serum recipe? Comment below and let us know how you got on!


